Published by December 20, 2025 · Reading time 18 minutes · Created by Lix.so
Ever wonder why some photos on Facebook look crisp and perfectly framed, while others are blurry messes with the best parts cropped out? It’s not always about having a better camera—it's about knowing how to resize your images before you hit "post."
Getting your image dimensions right is one of the easiest ways to elevate your brand and boost engagement. Seriously, it's a quick win.
When you upload an image that doesn't fit Facebook's preferred dimensions, its algorithm steps in to "fix" it for you. This usually involves aggressive compression and awkward cropping, which can lead to pixelation, cut-off text, or your product being half out of the frame. It just looks unprofessional and can really hurt how people see your brand.
Taking a moment to properly resize your photos beforehand puts you back in the driver's seat. You get to decide exactly how your audience sees your content, ensuring your message is always clear and centered, just the way you intended.
This isn't just about looking good, either. Properly sized photos have a direct impact on your post's performance. The Facebook algorithm tends to favor content that's already optimized for the platform, which can give your organic reach a nice little bump.
Think about it from a user's perspective. Images that are sized correctly load faster and display perfectly on both mobile and desktop. This creates a smoother experience, which in turn encourages more likes, comments, and shares.
This isn't just a hunch; there's data to back it up. Industry studies have shown that posts using Facebook’s recommended rectangular feed size (often 1200×630 px) saw anywhere from 12% to 28% higher engagement and click-through rates than posts with improperly sized images. If you want to dive deeper, check out the research on image sizing's impact from SocialPilot.
So, let's break down the advantages of mastering photo resizing:
Forget the guesswork and frustration. You’re about to learn how to make every single image you post look its absolute best.
Trying to keep up with Facebook’s image sizes can feel like a full-time job. Dimensions change, new placements pop up, and before you know it, that perfectly designed graphic looks cropped and pixelated.
This cheat sheet is your single source of truth for getting your images framed perfectly, every single time. Think of these specs less as rigid rules and more as a blueprint for success. Nailing them means your content shows up exactly as you planned—no weird crops, no blurry messes from Facebook’s compression. It's the core of making your visuals work for you, not against you.
First impressions count, and these two placements are the very first thing people see on your Page. Getting them right is non-negotiable.
Profile Picture:
Cover Photo:
The infographic below really drives home why this matters. It’s not just about looking good; it's about performance.
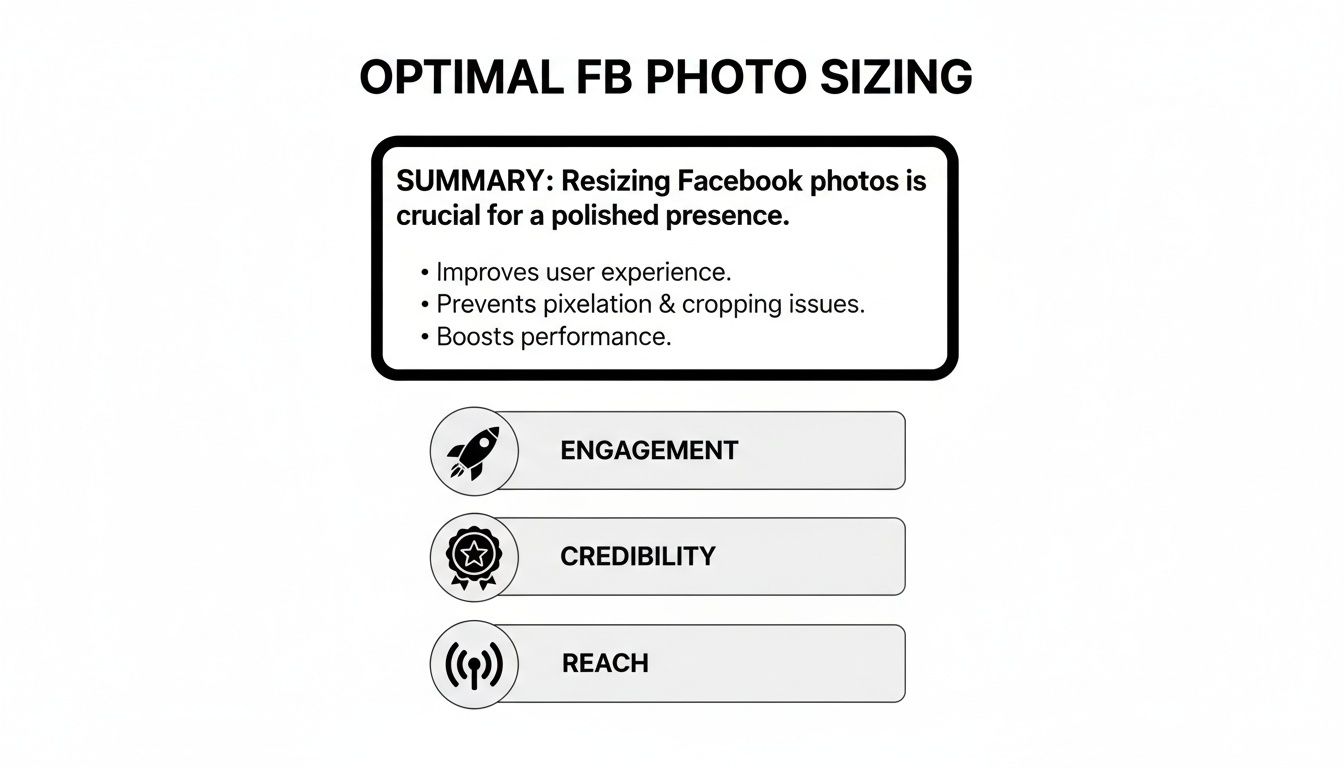
As you can see, proper sizing is a strategic move that directly impacts your engagement, credibility, and overall reach on the platform.
These are your bread-and-butter placements where you'll connect with your audience day in and day out. Consistency here is what builds a memorable brand presence.
Standard Feed Posts:
Quick insight from the trenches: Facebook's algorithm often gives a slight edge to taller formats. A 4:5 image can literally stop the scroll more effectively than a square one simply because it fills more of the screen.
Facebook Stories & Reels:
For anyone running paid campaigns, our detailed guide on Meta ad sizes dives even deeper into the specs for every ad placement.
While these are the ideal sizes, Facebook does have a practical upload window. Any image between 600×315 px and 2048×2048 px generally renders well. For specific placements like event covers or link previews, 1200×628 px is a solid choice to maintain that standard 1.91:1 ratio. The key is to stick to these guidelines to make sure every image you post is sharp, professional, and ready to capture your audience's attention.
Knowing the right dimensions is only half the battle. The other half is actually resizing your photos without turning them into a blurry, pixelated mess.
The good news? You don't need to be a Photoshop wizard to get professional-looking results. The right tool really just depends on what you’re trying to do—whether it’s a quick edit on your phone or a high-stakes, brand-aligned graphic for a major ad campaign.
These days, many businesses are ditching complex desktop software for their day-to-day social media tasks. In fact, somewhere between 35% and 60% of small businesses and agencies now lean on template-based tools like Canva for resizing Facebook photos, according to market analysis. You can dig into more of these social media trends from Analyzify if you're curious.
This trend really drives home one key point: efficiency is everything. Let's walk through the most practical ways to get your images resized and ready to post.
For social media managers and small business owners, free online design tools are an absolute game-changer. They completely eliminate the guesswork by offering a massive library of pre-sized templates for pretty much every Facebook placement you can think of.
For instance, if you need to resize a photo for a Facebook Story, it's ridiculously simple:
This kind of workflow is perfect for churning out consistently sized assets without needing any deep technical skills. For a deeper dive, check out our complete guide on the correct Facebook Story size to ensure every last pixel is in the right place.
When you need pixel-perfect control over every single detail, Adobe Photoshop is still the undisputed king. It gives you far more advanced options for preserving quality, ensuring color accuracy, and fine-tuning file compression.
While the interface can look a bit intimidating, the actual process of resizing for Facebook is pretty straightforward. Your best friend here is the "Export As" function.
Pro Tip: Whatever you do, never use the "Image Size" command to resize photos for the web. This method directly alters the original pixels and can seriously degrade the quality. Always use the non-destructive "Export As" feature (File > Export > Export As), which is built specifically for optimizing images for web and social media.
Once you’re in the "Export As" dialog box, you can type in the exact pixel dimensions you need, like 1080 x 1350 for a vertical feed post. Most importantly, you can also adjust the quality slider for JPGs (I usually aim for something between 70-85%) and make sure the "Convert to sRGB" box is checked. That little checkbox is crucial for making sure your colors look vibrant and accurate on any screen.
Sometimes you just need to get something posted right now. Thankfully, most modern smartphones have surprisingly powerful photo editors built right in, and they can easily handle basic resizing and cropping.
Just open your phone’s photo gallery, pick an image, and tap "Edit." Look for the crop tool—it almost always includes preset aspect ratios. You can quickly select common ones like 1:1 (Square), 4:5 (Vertical), or 16:9 (Landscape). This lets you frame your shot perfectly for the feed before you even upload it to the Facebook app. Simple and effective.
Once you've got the dimensions down, the real art of preparing images for Facebook begins. It’s a balancing act between visual quality and performance. A perfectly sized photo is useless if it takes ages to load, especially since most people are scrolling on mobile devices with spotty connections.
The goal here is to shrink your file size without turning your beautiful image into a pixelated mess. This is done through compression, a process where software cleverly removes redundant data to make the file smaller and faster to load.
Your first decision is the file format, and for Facebook, it almost always comes down to two choices: JPG or PNG. They each have a specific job.
A classic mistake is saving a logo as a JPG. The compression will almost certainly soften the edges and make it look unprofessional. For anything that isn't a photo, stick with PNG to keep it crisp.
After picking your format, it’s time to tackle the file size. When you export a JPG from a tool like Adobe Photoshop, you'll usually find a quality slider that goes from 0 to 100. You don't need 100. Dropping that setting to somewhere between 70-85% can slash the file size dramatically with virtually no visible difference to the naked eye.
Here's a practical takeaway: An uncompressed 1080px photo can easily top 2MB. With smart JPG compression, you can often get that same image under 500KB—sometimes even under 200KB. It'll load way faster, and your audience will never know the difference.
Finally, there’s one last technical detail that trips people up: the color profile. Always make sure your images are saved with the sRGB color profile. This is the web standard, and if you don’t use it, your vibrant colors can look dull and washed-out on different screens. Most photo editors have a little checkbox on export that says "Convert to sRGB"—make sure it’s always ticked. This is the key to ensuring your brand's colors look exactly as you intended, everywhere.
If you're an advertiser, you know that resizing photos for Facebook is way more than just a technical chore—it's a critical part of building a campaign that actually works. The right image dimensions can be the difference between an ad that flies and one that sinks your click-through rates before it even has a chance.
Your creative has to look like it belongs in the feed. It can't feel like a poorly cropped afterthought. That means you need to think beyond a single, standard post size and really dial in the specs for each specific ad placement. From Carousels to Stories, every format is designed to grab attention differently, and your visuals have to play by those rules.
Most of your ads will run in a few key spots, and getting the aspect ratios right here is non-negotiable. This is all about maximizing screen real estate and stopping the scroll.
I see this all the time: advertisers running the same square creative across all placements. A 1:1 image looks jarring and unprofessional in a 9:16 Stories slot. It’s an instant giveaway that you cut corners, and users will tap away in a heartbeat. Always, always create dedicated assets.
Carousel and Collection ads are fantastic for showing off multiple products or features, but they have their own set of rules. The key here is consistency for a seamless user experience.
Carousel Ads:
These ads let users swipe through multiple cards, each with its own image, headline, and link. For these to look good, every single image in the carousel needs to be the same size. The standard 1:1 aspect ratio (1080 x 1080 pixels) is your safest bet. It keeps everything looking uniform and professional as people swipe.
Collection Ads:
This is a mobile-only format that pairs a primary "hero" image or video with a grid of smaller product images below it. Your main creative can be either 1:1 or 1.91:1, but the product images pulled from your catalog really need to be square to keep that grid looking clean. Visual harmony is what makes this ad format convert.
If you're ready to dive deeper into these formats, our guide on the different types of Facebook ads is a great next step. It breaks down how to use each one to hit specific marketing goals.
Finally, never assume one size fits all. The only way to truly know what works for your audience is to test different image formats against each other.
Run a simple A/B test. Pit a 1:1 square image against a 4:5 vertical in the feed. In your Stories ads, test a static image against a simple animated graphic.
Look at the data—click-through rates, conversion rates, and cost per acquisition. This is how you find out which visual approach gives you the best bang for your buck. Continuous testing isn't just a tactic; it's the secret to refining your strategy and building campaigns that consistently deliver results.
Even with the best plan, you’re bound to run into a few snags when resizing images. It happens to everyone. Let's walk through some of the most common questions and sticky situations we see, so you can solve them fast and get back to what matters.
If you upload an image that doesn't fit Facebook's specs, the platform takes matters into its own hands. It will automatically crop, stretch, or compress your photo to make it fit. This is the culprit behind all those blurry pictures and awkwardly framed ads you see where someone's head is cut off.
Think about it: uploading a tall, vertical photo for a horizontal link preview is a recipe for disaster. Facebook’s algorithm will just chop off the top and bottom, likely ruining the entire point of the image.
When you take a few seconds to resize your images properly, you keep full control. You decide what your audience sees, not some automated system.
The bottom line is simple: Facebook will always force your photo to fit, but its solution is almost never the one you want. A quick resize on your end guarantees a professional look, every single time.
This is a classic question, and the answer isn't "one size fits all." The right file format completely depends on what's in the image. Choosing the right one is a crucial part of optimization.
Here's the breakdown:
This is easily the most frustrating problem. You've used the right dimensions, the file looks perfect on your computer, but once it's on Facebook, it's a blurry mess. What gives?
Usually, it comes down to a couple of things. First, Facebook runs every uploaded image through its own compression algorithm, which can knock the quality down a peg.
To fight back, always start with a high-resolution source image and export it at the exact recommended size, like 1080px or 1200px wide. Over-compressing the image yourself before uploading just makes the problem worse. It's about finding that sweet spot between file size and quality.
And one final pro tip: make sure you’re saving your file in the sRGB color profile. It’s the standard for the web and helps prevent your colors from looking washed out or weird after uploading.
Tired of manually resizing every single image and rebuilding campaigns from scratch? Lix.so helps you launch entire Facebook ad campaigns in seconds. Upload creatives in bulk, use powerful templates, and get back to focusing on strategy instead of busywork. Start your free 7-day trial of Lix.so today.
Create hundreds of Facebook Ads campaigns in minutes with Lix.so. Batch creative upload, reusable templates, and automatic campaign generation.
✓ Free for 14 days · ✓ No credit card required · ✓ Cancel anytime